# Create a Tenant
Create a tenant before adding tenant-specific extensions, DIDs, routing, media, and user permissions. A tenant is the top-level container for a customer's PBX configuration.
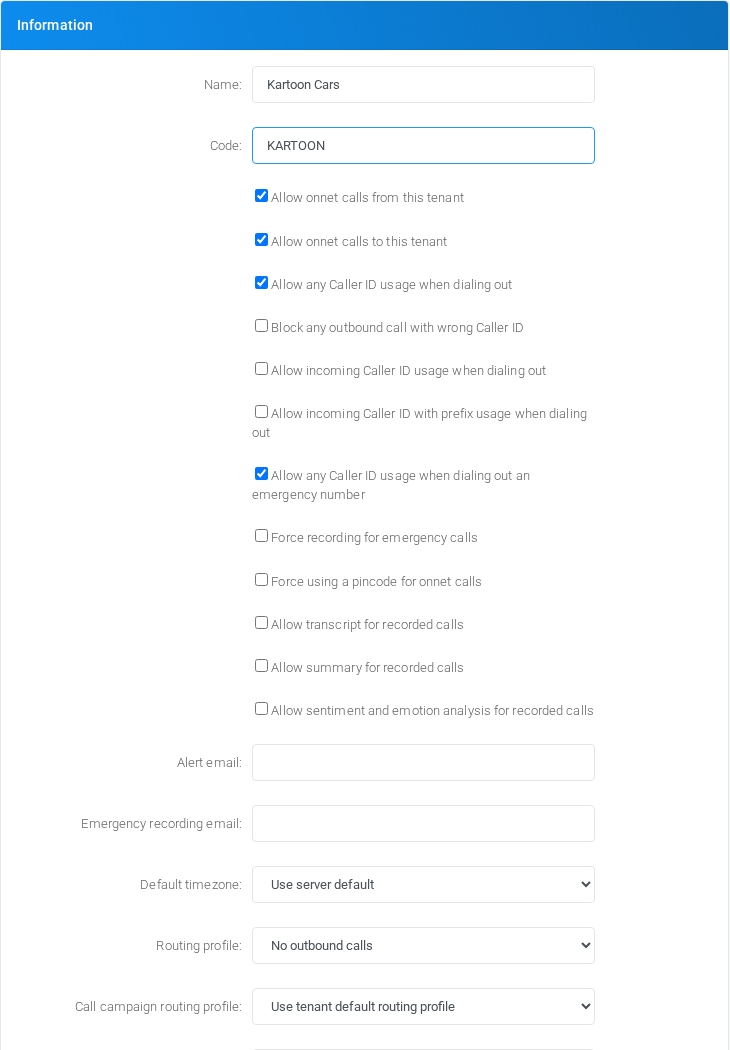New tenant form filled with Kartoon Cars and tenant code KARTOON.## Open the tenant form
1. Log in with an administrator account that can add tenants.
2. Open **Admin** > **Tenants**.
3. Select **Add** or **New** to open **Define Tenant**.
## Enter name and code
1. In **Name**, enter **Kartoon Cars**.
2. In **Code**, enter **KARTOON**.
3. Review the defaults for calling, routing, parking, billing, limits, and storage.
4. Select **Save**.
The tenant code must be unique. Use an alphabetic code such as **KARTOON**. Avoid numbers, spaces, hyphens, and underscores unless your deployment has a specific reason to use them.
## Why the code matters
MiRTA PBX uses the tenant code when creating extension usernames. The username format is:
```
-
```
For example, with tenant code **KARTOON**, an extension username **201** becomes **201-KARTOON**. This keeps usernames unique across tenants even when two tenants use the same extension numbers.
After a tenant has been saved, the code field becomes read-only in the tenant form. Use the **Change** button beside the code only when you intentionally need to rename the tenant code, because extension usernames and related references depend on it.