
Overview
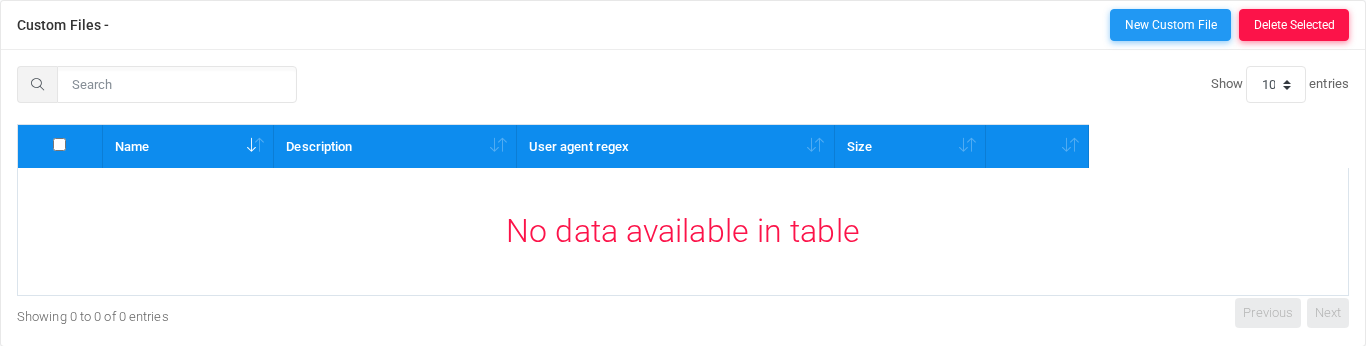
The Custom Files page uploads custom provisioning files matched to phones by user-agent rules. Open it from Configuration > Provisioning > Custom Files.
The page works against the tenant currently selected in the top bar. The screenshots and demo rows were captured in the Canistracci OIL tenant.

Working with objects
| Task | How to do it |
|---|---|
| Add | Select the New custom file action, complete the form, and select Save. |
| Edit | Open the custom file from the list by selecting its name, number, or row action. Change the form and select Save. |
| Delete | Select the row checkbox and use Delete Selected, or open the custom file and select Delete, then confirm. |
Page functions
| Action | Description |
|---|---|
| New Custom File | Opens the creation form for a new custom file. |
| Delete Selected | Deletes the selected rows after confirmation. |
List columns
| Column | Description |
|---|---|
| Name | Display name used in lists and references. |
| Description | Administrative note shown in lists and reports. |
| User agent regex | Object setting shown by the form. |
| Size | Object setting shown by the form. |
Add and edit form
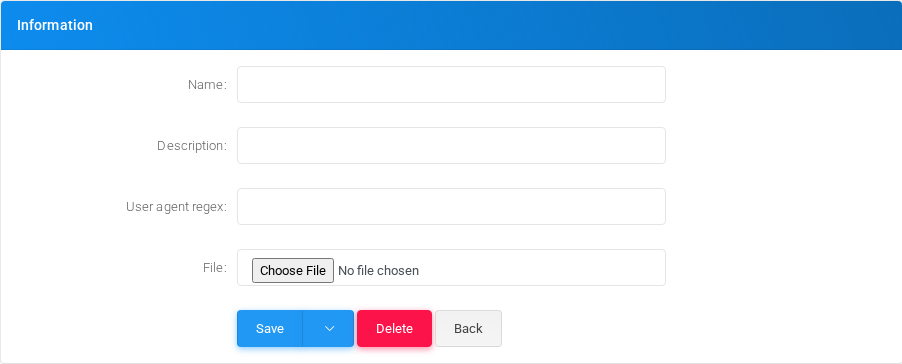
Main fields
Demo records
The tenant contains 1 documentation demo record for this page: Docs Demo Custom File 1.
Deleting records
Before deleting a custom file, check references from call flows, destinations, schedules, reports, or provisioning objects. MiRTA PBX asks for confirmation before the delete is submitted.