
Overview
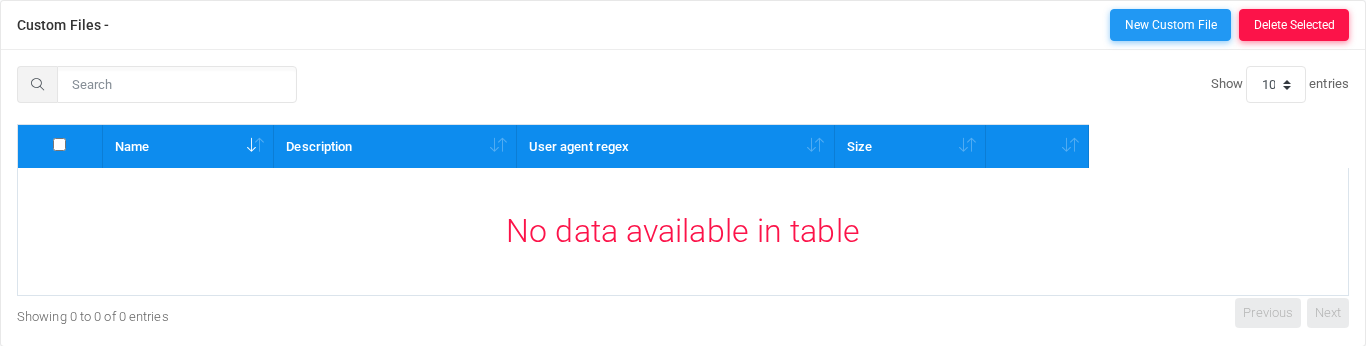
The Custom Files page uploads custom provisioning files matched to phones by user-agent rules. Open it from Configuration > Provisioning > Custom Files.
The page works against the tenant currently selected in the top bar. The screenshots and demo rows were captured in the Canistracci OIL tenant.
Working with objects
| Task | How to do it |
|---|---|
| Add | Select the New custom file action, complete the form, and select Save. |
| Edit | Open the custom file from the list by selecting its name, number, or row action. Change the form and select Save. |
| Delete | Select the row checkbox and use Delete Selected, or open the custom file and select Delete, then confirm. |
Page functions
| Action | Description |
|---|---|
| New Custom File | Opens the creation form for a new custom file. |
| Delete Selected | Deletes the selected rows after confirmation. |
List columns
| Column | Description |
|---|---|
| Name | Display name used in lists and references. |
| Description | Administrative note shown in lists and reports. |
| User agent regex | Object setting shown by the form. |
| Size | Object setting shown by the form. |
Demo records
The tenant contains 1 documentation demo record for this page: Docs Demo Custom File 1.
Deleting records
Before deleting a custom file, check references from call flows, destinations, schedules, reports, or provisioning objects. MiRTA PBX asks for confirmation before the delete is submitted.
No comments to display
No comments to display