
Log In and Select a Tenant
Use the MiRTA PBX web interface to sign in, then select the tenant whose configuration you want to manage.

Log in
- Open the MiRTA PBX web address provided by your administrator.
- Enter your Username and Password.
- Select Login.
If your account requires a second authentication step, complete the security-code prompt before continuing.
Select the tenant after login
If your user is enabled for more than one tenant, MiRTA PBX can show a Tenant select dialog immediately after login. Select the tenant you want to work on, then select Connect.
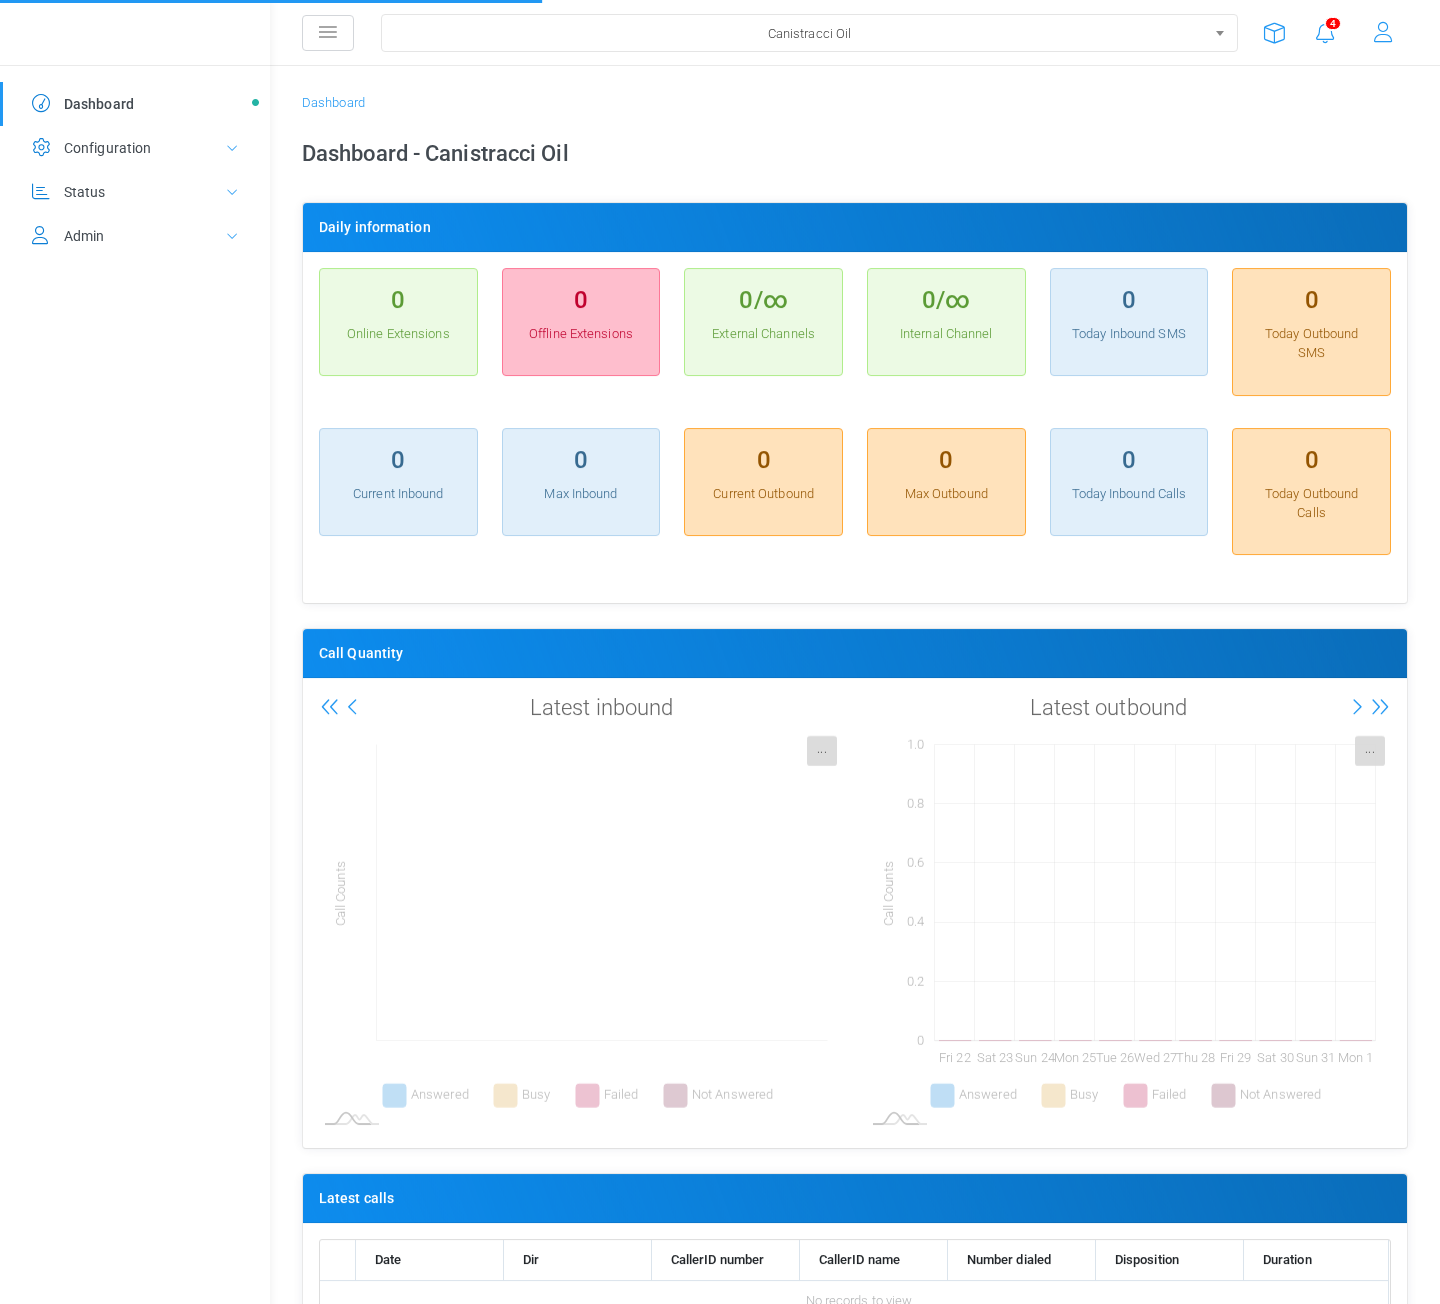
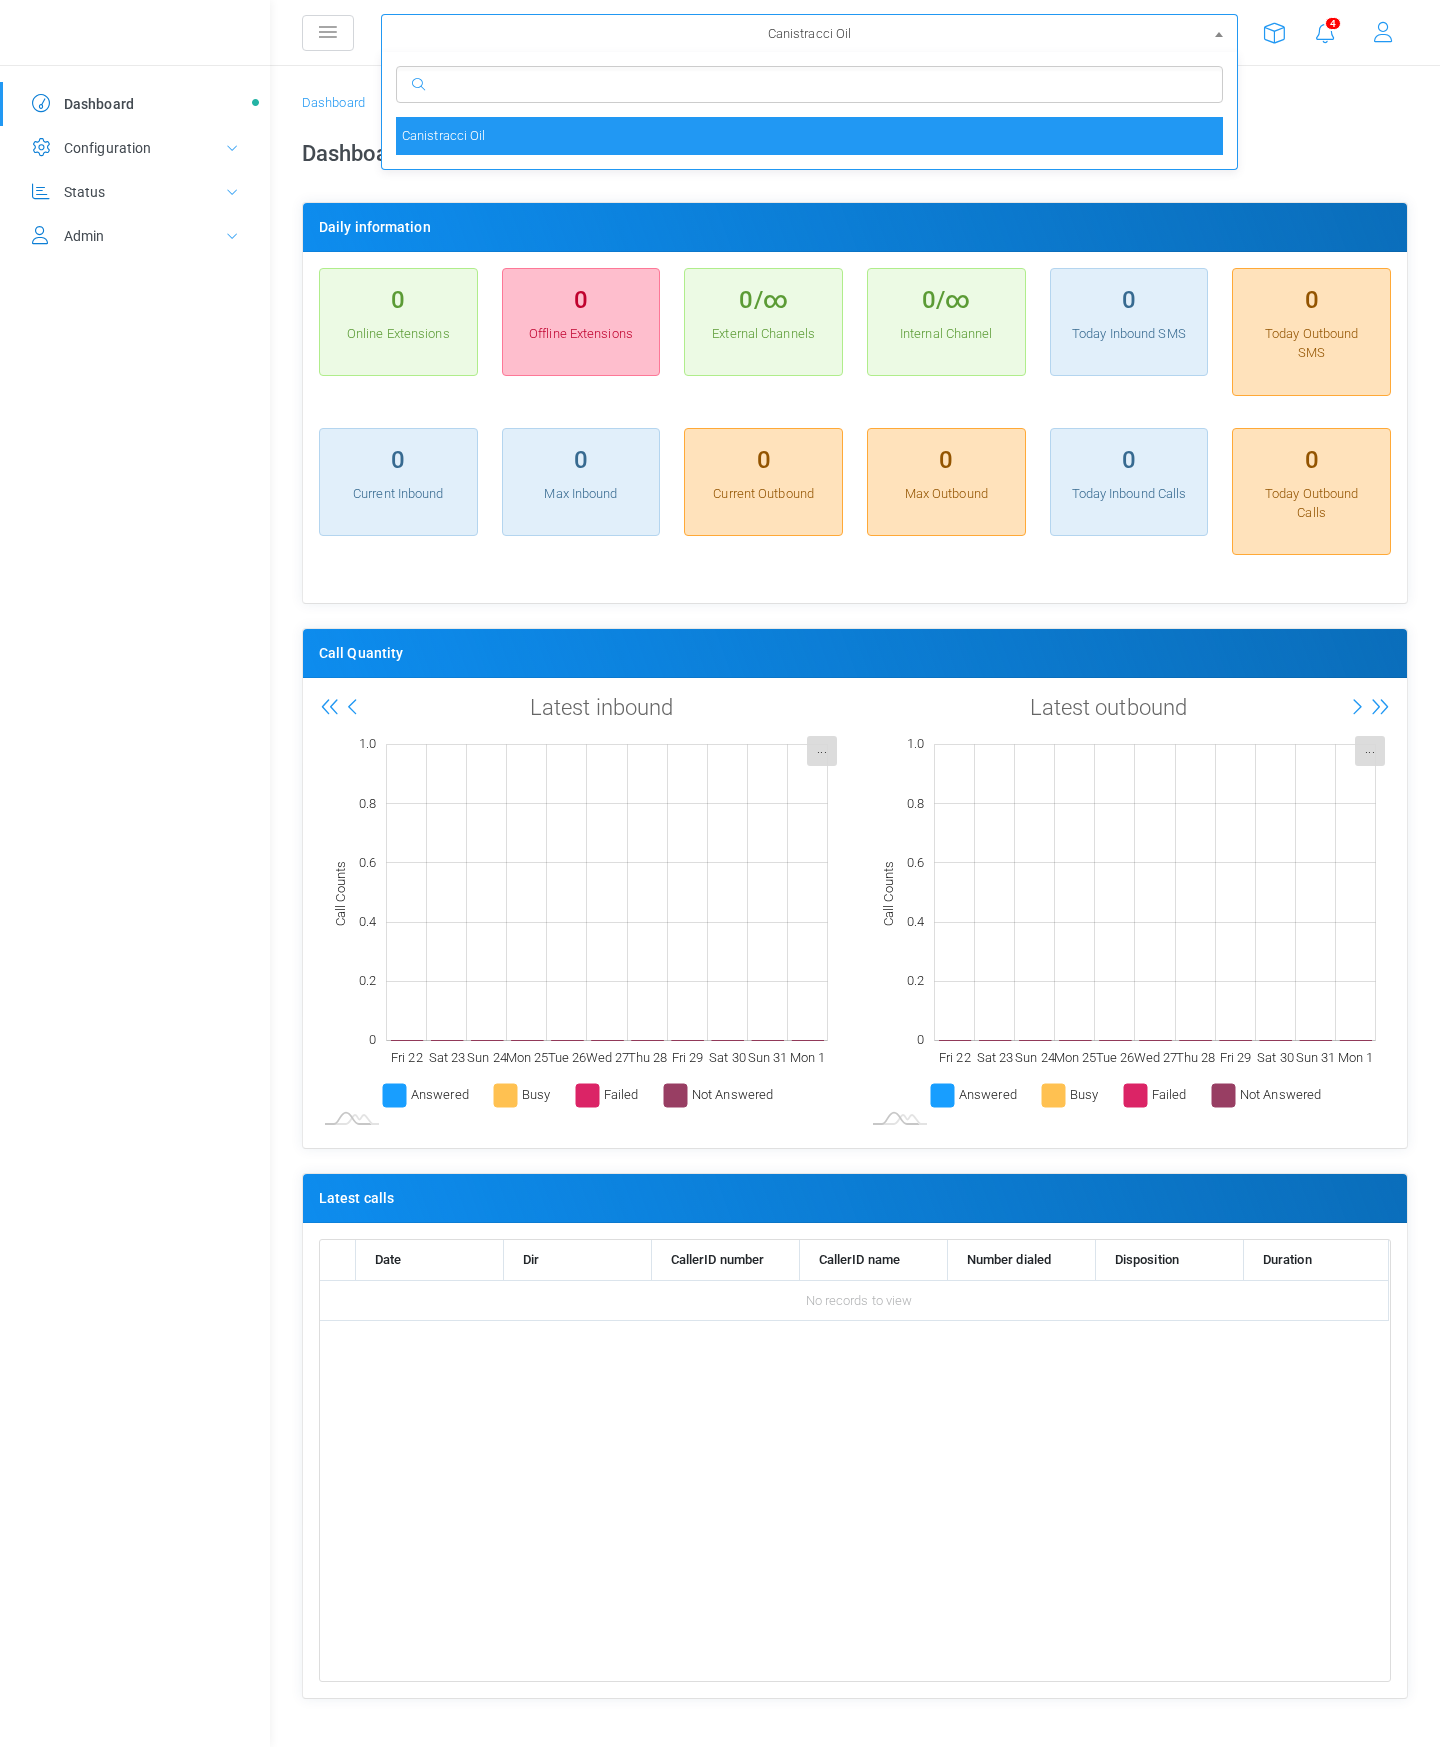
Change the current tenant
After login, the current tenant is shown in the selector in the top bar. To work on a different tenant, open this selector and choose the tenant from the list. MiRTA PBX reloads the work area using the selected tenant.
The selected tenant controls the records shown and the configuration changes you make. Before editing extensions, DIDs, routing, media files, or other tenant-level settings, verify that the top-bar selector shows the correct tenant.
When the selector is not available
If you do not see the tenant selector, your account may be enabled for only one tenant, or your permissions may limit tenant switching. Continue using the tenant assigned at login, or contact an administrator if you need access to another tenant.
No comments to display
No comments to display